TreadleOn Block Exchanges - Basic Blocks - Friendship Star
Home Page
Back to TOBE Page
These instructions are for the regular, easy, beginners' blocks and are useful for all sorts of projects
This block's instructions assume a degree of accuracy - if you find that this is beyond your skills or those of your machine, check your seam allowances carefully, or maybe consider an easier exchange!
You need:-
Pre-washed cotton fabrics.
Blocks should finish at 6-1/2 inches trimmed, for 6 inches when sewn into a quilt
TOBE fabrics should always be pre-washed and pressed before cutting
Square ruler at least as big as your trimmed block size
Cutter and mat
Pencil
Treadle or hand-crank machine(s)
Cotton thread, please

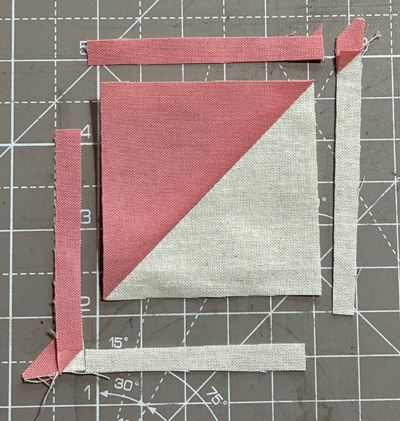
Two 3-1/2 inch squares in each of your background and accent colour for half-square triangles and EITHER one more 2-1/2 inch back ground or one accent or one contrast square of 2-1/2 inches
Samples are made in plains for clarity, but please make a note of the colours and or patterns required for the exchange
All seams are made by putting the Right Sides Together and using a 1/4 inch seam. Pin if needed, but don't sew over your pins!
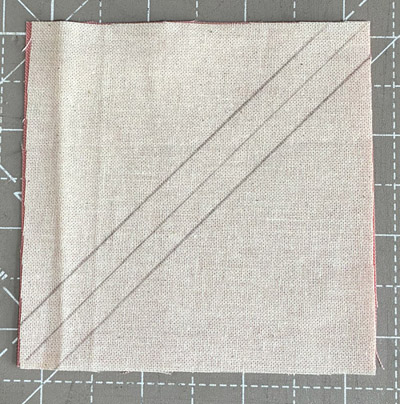

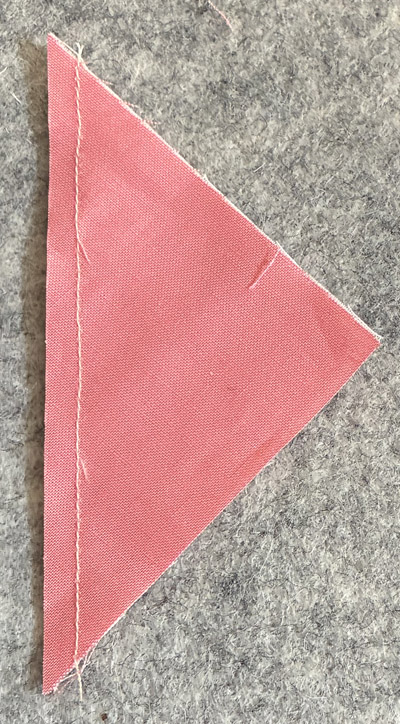
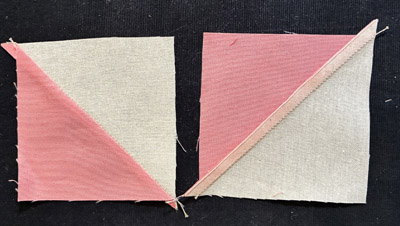
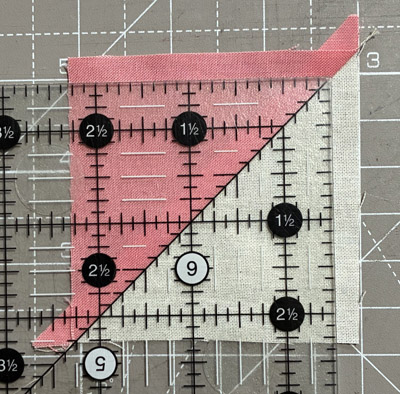
Now, this looks wasteful, but it's sooo much easier to trim a bit more off than a sliver, and I know you aren't short of fabric.
Of course, as you get better at this, you can start with slightly smaller squares, maybe 3-1/4 inches
(Note, many of the online sites say "add 7/8 to your finished size for perfect HSTs". Yes, if you are very accurate, but you still have to trim off the "ears". I always make oversize and trim)
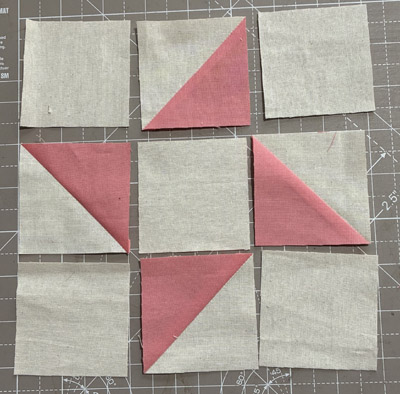
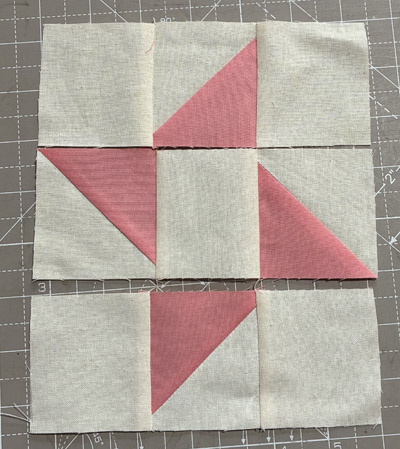
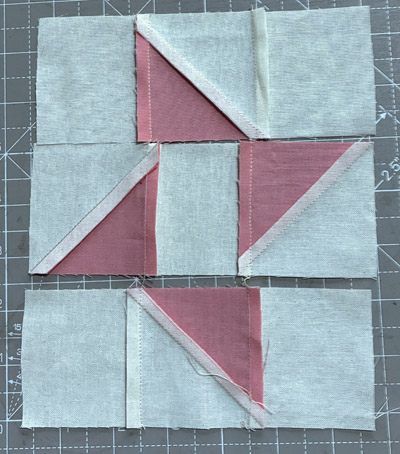
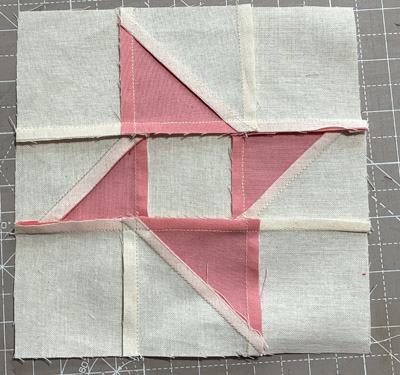
CHECK the size when you have made one block, if it is too big or too small you need to check your seam allowances
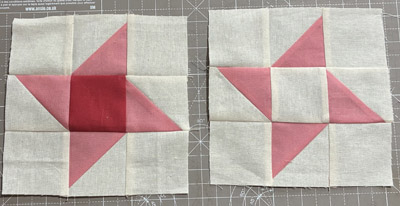
And scrappy is fun too...